
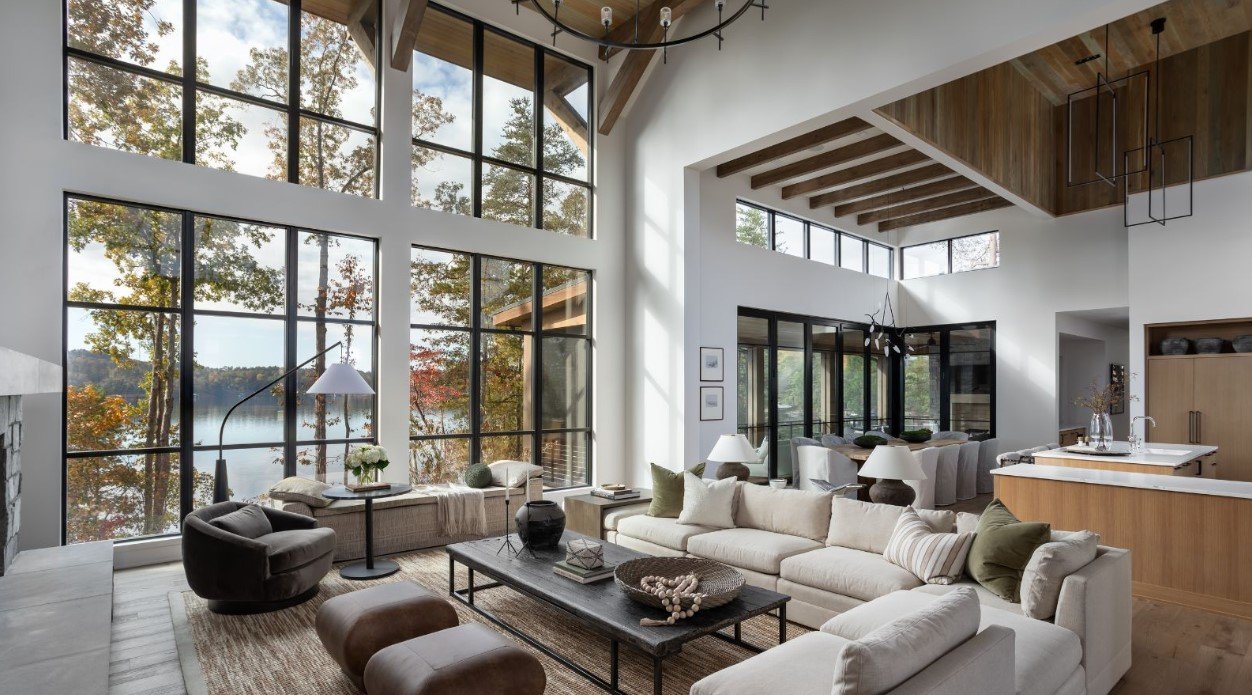

Creating a dream home is one of the most rewarding investments a person can make. Unlike purchasing a pre-built house, a Custom Home Design allows homeowners to personalize every detail according to their lifestyle, family needs, and future goals. From selecting the perfect floor plan to choosing finishes and overseeing construction, the journey involves multiple carefully planned stages.
Understanding each phase of the Custom Home Design process helps homeowners make informed decisions, avoid costly mistakes, and ensure the final result reflects their vision. This guide walks you through every step, from the first idea to the day you receive the keys to your newly built home.
What Is a Custom Home Design?
A Custom Home Design is a personalized approach to building a house where every aspect is tailored to the homeowner’s preferences. Instead of choosing from a limited selection of layouts, custom homes are designed specifically to match individual requirements, architectural tastes, budget, and land characteristics.
This process gives homeowners complete control over:
- Floor plans
- Exterior appearance
- Interior layouts
- Room sizes
- Building materials
- Energy-efficient features
- Smart home technology
- Landscaping integration
The result is a home that truly reflects your personality and lifestyle.
Step 1: Define Your Vision and Goals
Every successful project starts with a clear vision. Before meeting an architect or builder, spend time thinking about how you want your home to function.
Consider questions such as:
- How many bedrooms and bathrooms do you need?
- Will you work from home?
- Do you need a home office?
- Is outdoor entertainment important?
- Do you plan to expand your family?
- What architectural style do you prefer?
Collect inspiration from magazines, online galleries, and completed homes to communicate your ideas more effectively.
Step 2: Establish a Realistic Budget
Budget planning is one of the most important stages of the Custom Home Design process.
Your total budget should include:
- Land purchase
- Site preparation
- Architectural design
- Engineering services
- Building permits
- Construction costs
- Interior finishes
- Landscaping
- Utility connections
- Contingency funds
Experts often recommend reserving approximately 10–15% of your total budget for unexpected expenses during construction.
Step 3: Choose the Right Building Lot
The land you purchase significantly impacts your home’s design.
Important factors include:
Topography
Sloped lots may require retaining walls or specialized foundations.
Soil Conditions
A soil test helps determine foundation requirements.
Utilities
Ensure water, electricity, sewer, and internet services are available.
Local Regulations
Zoning laws and setback requirements influence your home’s placement.
Selecting the right lot ensures your Custom Home Design can be built efficiently without expensive modifications.
Step 4: Hire an Experienced Design Team
The next step involves assembling professionals who can transform your ideas into reality.
Your team may include:
- Architect
- Custom home designer
- Structural engineer
- Interior designer
- Landscape designer
- Custom home builder
Working with experienced professionals helps prevent design errors and ensures compliance with local building codes.
Step 5: Develop Preliminary Home Designs
Once the design team understands your goals, they begin creating conceptual plans.
This phase usually includes:
- Initial floor plans
- Exterior elevations
- Room layouts
- Window placement
- Garage positioning
- Outdoor living spaces
These early drawings allow homeowners to provide feedback before finalizing the design.
Don’t hesitate to request revisions. Adjustments made during planning are far less expensive than changes during construction.
Step 6: Finalize the Architectural Plans
After approving the conceptual layout, the architect prepares detailed construction documents.
These plans include:
Structural Drawings
Foundation details, framing, roof structure, and load-bearing walls.
Mechanical Plans
Heating, ventilation, and air conditioning (HVAC) systems.
Electrical Plans
Lighting layouts, outlets, switches, and smart home wiring.
Plumbing Layout
Water supply, drainage, and fixture locations.
Material Specifications
Detailed descriptions of building materials and finishes.
These documents guide contractors throughout construction.
Step 7: Obtain Permits and Approvals
Before construction begins, necessary permits must be secured from local authorities.
Common permits include:
- Building permit
- Electrical permit
- Plumbing permit
- Mechanical permit
- Environmental approvals (if required)
Permit approval timelines vary depending on local regulations and project complexity.
Step 8: Select Interior and Exterior Finishes
This is often the most exciting stage of the Custom Home Design process.
Homeowners choose finishes such as:
- Flooring
- Cabinets
- Countertops
- Paint colors
- Roofing materials
- Windows
- Doors
- Lighting fixtures
- Bathroom fixtures
- Kitchen appliances
Maintaining consistency in colors and materials creates a cohesive design throughout the home.
Step 9: Begin Construction
Once permits are approved, construction officially begins.
Typical construction phases include:
Site Preparation
The lot is cleared, graded, and prepared.
Foundation
Concrete footings and foundation walls are installed.
Framing
The home’s structural framework takes shape.
Roofing and Exterior
Roofing, windows, and exterior walls are completed.
Mechanical Systems
Electrical, plumbing, and HVAC installations occur before insulation.
Interior Finishes
Drywall, flooring, cabinetry, painting, and trim work transform the house into a livable home.
Each phase typically undergoes inspections to ensure compliance with building standards.
Step 10: Final Inspection and Walkthrough
Before moving in, the builder performs a comprehensive inspection.
During the final walkthrough, homeowners should verify:
- Doors and windows operate correctly.
- Appliances function properly.
- Plumbing fixtures work efficiently.
- Paint and finishes meet expectations.
- Lighting and electrical outlets operate safely.
- Flooring has no visible defects.
Any outstanding issues are documented on a punch list for correction before project completion.
Tips for a Smooth Custom Home Design Experience
A well-managed project leads to better results and fewer surprises.
Keep these best practices in mind:
- Communicate regularly with your builder.
- Review plans carefully before approval.
- Avoid major design changes after construction begins.
- Keep detailed records of decisions.
- Schedule regular site visits.
- Stay flexible with timelines.
- Reserve emergency funds for unexpected costs.
Careful planning significantly reduces stress throughout the building process.
Common Mistakes to Avoid
Even well-planned projects can encounter challenges.
Avoid these common mistakes:
- Underestimating the total budget
- Ignoring future family needs
- Choosing style over functionality
- Skipping professional inspections
- Selecting inexperienced contractors
- Making last-minute design changes
- Overlooking energy efficiency
Learning from these mistakes helps ensure your investment delivers long-term satisfaction.
Conclusion
Building a home from the ground up is an exciting opportunity to create a space designed specifically for your lifestyle. A carefully planned Custom Home Design process transforms ideas into detailed plans and eventually into a beautiful, functional residence. From setting your budget and selecting the right lot to collaborating with experienced professionals and monitoring construction, every stage plays a crucial role in achieving success.
By understanding each step and making informed decisions throughout the journey, homeowners can enjoy a smoother building experience while creating a home that offers comfort, efficiency, and lasting value for many years to come.
